

بسم الله الرحمن الرحيم
اللَّهُمَّ انْفَعْنِي بِمَا عَلَّمْتَنِي، وَعَلِّمْنِي مَا يَنْفَعُنِي، وَزِدْنِي عِلْمًا
Although there exist many programming languages on earth, This will not weave my determination to announce my new programming language ( Engine - The Next Generation Of Programming Languages ) ✌️
wanting to create something new and to deepen my knowledge, I have been thinking why not create a new language? with new features and designs?
Engine is a programming language that is based on Rust programming language.
Introduction
Engine is a new programming language which it's compiler is based on Rust programming language. This has many benefits:
Rust is fast. with memory safty guaranties
No Garbash collection model.
You control over your details.
It actually can be used as
Compiler
Interpreter
Byte Code Generator (That compiles your code into a byte code file)
Byte code executer (Interpreter that executes your code)
Installing
First, clone the repo
>>> git clone git@github.com:engine-lang/engine.git
Then create an engine file
>>> touch test.en
and put this code
string variable_1 = "hello"
print(variable_1)
string variable_2 = ", world!!!!"
print(variable_2)
Run engine as Interpreter
You can run Engine as an interpreter on the file by just running
>>> cargo run "test.en"
hello, world!!!!
Run engine as a Compiler
You can run Engine as a compiler which will generate an executable.
>>> cargo run "test.en" -e
it will generate an executable file called test, and to run it
>>> ./test
hello, world!!!!
Generate byte Code
You can generate a byte code like this
>>> cargo run "test.en" -b
it will generate a file called test.en.byte in this format
0:EngineByteCode:v0.1.0
1:Assign:string:"temp_stack1_variable_1":"hello"
2:Assign:string:"stack1_variable_variable_1":""
3:Convert:string:"stack1_variable_variable_1":"temp_stack1_variable_1"
4:Print:"stack1_variable_variable_1"
5:Assign:string:"temp_stack1_variable_2":", world!!!!"
6:Assign:string:"stack1_variable_variable_2":""
7:Convert:string:"stack1_variable_variable_2":"temp_stack1_variable_2"
8:Print:"stack1_variable_variable_2"
9:End:
you can then use it for your specific cases, or you can run it using engine vm
Run engine as VM(Virtual Machine)
To execute the engine byte code file, you can run
>>> cargo run "test.en.byte" --vm
it will interpret the file
__
Comments
# This is a single line comment
/*
    This is
    multi line
    comment
*/
__
Defining Variables
bool variable = True
bool variable_1 = False
bool variable_2 = False || True

int variable_0 = 5
int variable_1 = 6 + 5 - 7 * 7 / 2 + (
    5 - variable_0 * ( 6 % 2 )
)

variable_1 += 5

double variable = 6.2 + 8
double variable_2 = 0.1 - 0.4

char variable = 'H'
char variable_1 = "h"

string variable = "Hello World"
string variable_1 = 'Hello world!!'
string variable_2 = "Hello" + " World" + ',' + ' Dude!!!'
Define variable without writing the type
You can define variables without writing the variable type like that.
var new_variable = True
or directly
new_variable = True
the language will try to infer the type of the variable and then define a new variable based on the inferred type, so the new variable will be of type boolean.
A Note
take special note that if you define a character like this
new_variable = 'H'
the language will consider it as a string.
__
A new line is the line terminator for the statement (like semicolon in c and C++)
__
Precedence
This is the precedence of the operators
( True, False, Int Number, Double Number, Variable, Character, String, Open Parentheses - Close Parentheses - () )
( *, /, % )
( +, - )
( <, <=, >, >= )
( ==, != )
( && )
( || )
__
Print Statement
To print a variable you can do
bool variable = False
print(variable)
print("Hello, " + "World !!!")
__
Input Statement
To get an input from the console
var line = input()
input will be of type String.
to get input of another type
var line1 = input() as bool
var line2 = input() as int
var line3 = input() as double
var line4 = input() as char
var line5 = input() as string
this will get the input from the console and convert it to the type you specified.
you can also use it in an expression like this.
var x = 5 + input() as int + 7
print(x)
it takes the input and assigns the result sum value to x variable.
__
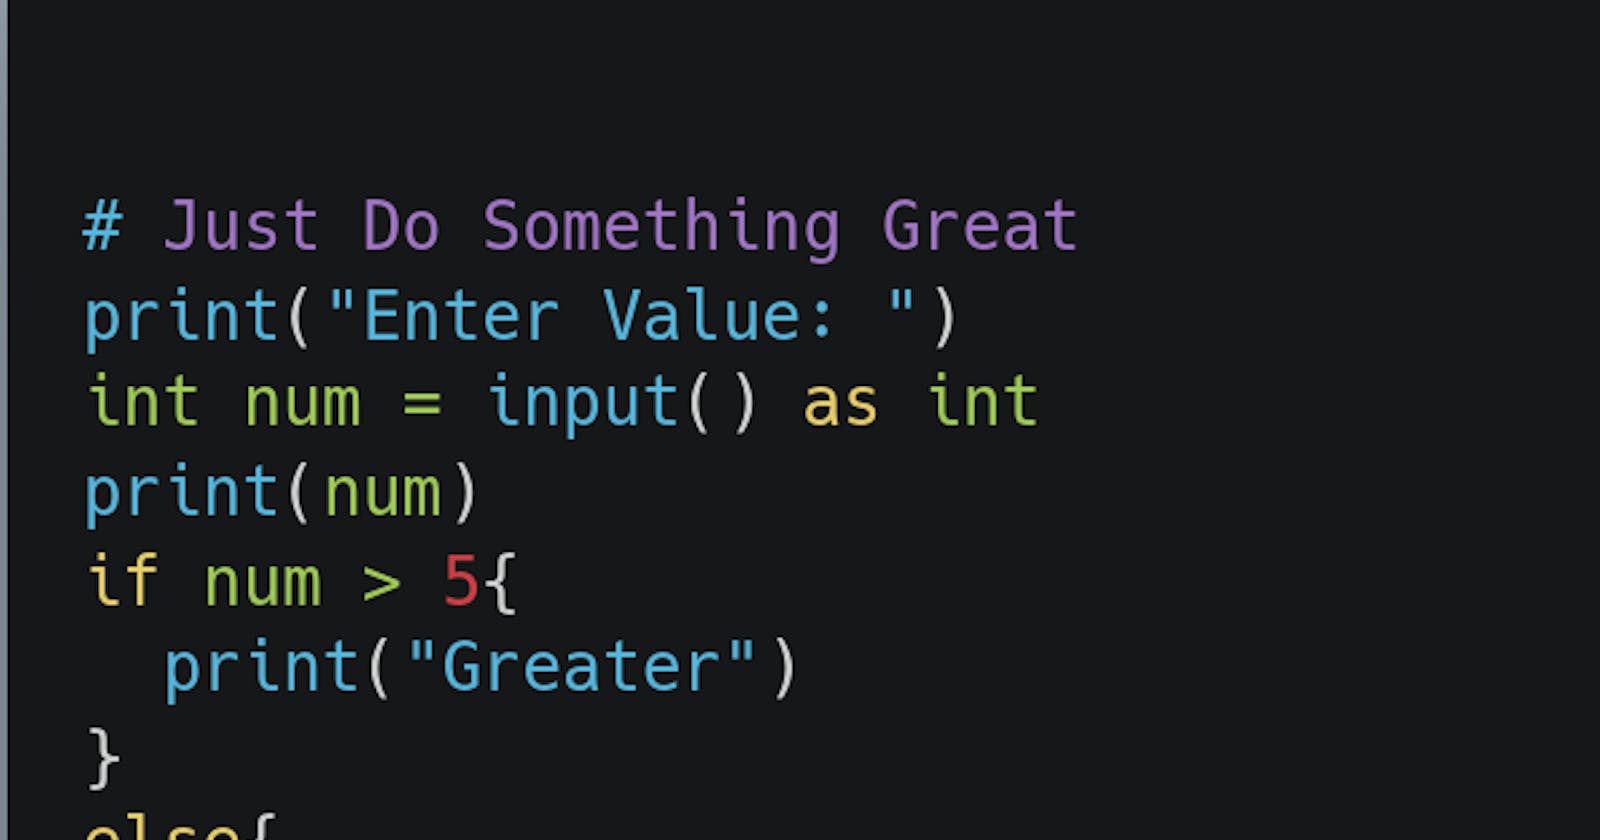
If Statement
You can make an if statement in this syntax
x = input() as int
if x > 5 {
    print("X is Greater than 5")
}
else if x < 5{
    print("X is less than 5")
}
else{
    print("X is equal to 5")
}
Nested If
you can make nested if
x = input() as int
if x > 5{
    if x < 10{
        print("X is Greater than 5 and less than 10")
    }
    else{
        print("X is Greater than 10")
    }
}
__
For Loop
Syntax
you can create a for-loop statement like this
for i in (start, end, step){
    # Statements
}
Or you can skip any element like this
for i in (, end, step){
    # Statements
}
This will generate a loop starting from 0
Or
for i in (start, , step){
    # Statements
}
This will make an infinity loop as we didn't define end
Or
for i in (start, end, ){
    # Statements
}
This will loop forever as we didn't increase the step counter
Examples
for i in (0, 10, 1){
    print(i)
    print("\n")
}
__
Break Statement
You can define a break statement inside for loop statement like this
start = 0
end = 10
step = 1
for i in (start, end, step){
    if x > 5{
        break
    }
}
Continue Statement
You can define a continue statement inside for loop statement like this
start = 0
end = 10
step = 1
for i in (start, end, step){
    if x > 5{
        continue
    }
    print("Hello World\n")
}
__
Byte Code
Introduction
This is the byte code instructions that will be generated if you want to compile the code into byte code.
EngineByteCode Instruction
This is the first instruction in the file
LINE:EngineByteCode:v0.1.0
LINE=> is the current instruction line, it will start from0EngineByteCode=> Instruction Typev0.1.0=> Current version
Assign Instruction
This instruction is used to create a new variable and then assign it with value.
LINE:Assign:VariableType:"VariableName":VariableValue
LINE=> is the current instruction lineAssign=> is the instruction TypeVariableType=> is the Variable type for ex: (bool, int, double, character, string)"VariableName"=> Variable Name with double quotesVariableValue=> The value for the variable for ex: (True, False, 5, 'H', "Hello")
Examples
5:Assign:bool:"variable_1":True
6:Assign:bool:"variable_2":False
7:Assign:int:"variable_3":5
8:Assign:double:"variable_4":5.2
9:Assign:char:"variable_5":'H'
10:Assign:string:"variable_6":"Hello, World!"
Convert Instruction
This instruction is used to convert the value from one type to another.
LINE:Convert:ConvertToType:"AsssignToVariableName":"FromVariableName"
LINE=> is the current instruction lineConvert=> Instruction TypeConvertToType=> This is the convert to type for ex: (bool, int, double, character, string)"AsssignToVariableName"=> Variable name which the converted value will be put in it."FromVariableName"=> Variable name which will have the value which needs to be converted.
Examples
5:Convert:bool:"Variable2":"Variable1"
6:Convert:double:"Variable3":"Variable4"
7:Convert:char:"Variable5":"Variable6"
Operation Instruction
This is the operations instruction
LINE:Operation:OperationType:"AssignToVariableName":"LeftVariableName":"RightVariableName"
LINE=> is the current instruction lineOperation=> Instruction TypeOperationType=> Operation Type ( Plus, Minus, Mul, Div, Mod, And, Or, GreaterThan, GreaterThanOrEqual, LessThan, LessThanOrEqual, Equal, NotEqual)"AssignToVariableName"=> The variable name to which the final value will be assigned to it."LeftVariableName"=> the first variable"RightVariableName"=> The second variable
Examples
6:Operation:Plus:"Variable3":"Variable2":"Variable1"
7:Operation:And:"Variable5":"Variable4":"Variable3"
Print Instruction
This is the print instruction
LINE:Print:"VariableName"
LINE=> is the current instruction linePrint=> Instruction Type"VariableName"=> The variable name to print
Examples
5:Print:"Variable"
Input Instruction
This is the input instruction.
LINE:Input:"VariableName"
LINE=> is the current instruction lineInput=> Instruction Type"VariableName"=> The variable name to put the input value in it.
Examples
18:Input:"temp_stack1_variable_7"
If Instruction
This is the if control flow instruction.
LINE:If:"VariableName":GoToLINE
LINE=> is the current instruction lineIf=> Instruction Type"VariableName"=> Variable name to compare its value, its value will be True or False.GoToLINE=> The Instruction line to go to if the condition for the if statement is False, ("VariableName"value is False)
Examples
227:If:"temp_stack2_variable_108":234
GoTo Instruction
This is the go-to instruction, which is used to just go for another line.
LINE:GoTo:GoToLine
LINE=> is the current instruction lineGoTo=> Instruction TypeGoToLine=> The line number to go to it.
Examples
233:GoTo:246
End Instruction
This is the last byte code instruction to be generated
LINE:End:
LINE=> is the current instruction lineEnd=> Instruction Type
Examples
130:End:
Conclusion & Contributing
Engine Lang is still under development, but I hope to release it in this year.
So if you want to contribute, please do not hesitate to do that. you don't need to know
Rustto contribute, there are many ways to contribute like improving syntax, improving docs, etc...You can DM Me at
abdoaslam000@gmail.comor at LinkedIn